
On this page
- Who this is for and what you will be able to decide
- Start from the reclined patient, not the ceiling
- Mounting a TV above the dental chair
- Controls that fit your infection-control routine
- Sound in a treatment room: headphones, speakers or captions
- Programming and receivers for every operatory
- Common mistakes and questions to ask a provider
Who this is for and what you will be able to decide
This is for practice owners, office managers and the people who coordinate build-outs and remodels: anyone planning a ceiling TV in a dental office, whether that means one hygiene room or every operatory across several locations. It covers the screens patients watch from the chair. The waiting room is a different problem with different answers, and we cover it separately in choosing waiting-room TV for dental and medical offices.
By the end you should be able to decide four things for each treatment room:
- Where the screen goes so a reclined patient can see it without craning, and the clinician never has to work around it.
- How it is mounted so it is secure over a patient and clear of the light, delivery system and imaging arm.
- How it is controlled in a way that fits your infection-control routine instead of adding a new surface to clean.
- How patients hear it, if at all, given handpiece noise, open-bay layouts and the need to keep talking to the patient.
Programming and receivers come last, but they are worth planning at the same time, because the wiring decisions overlap.
Start from the reclined patient, not the ceiling
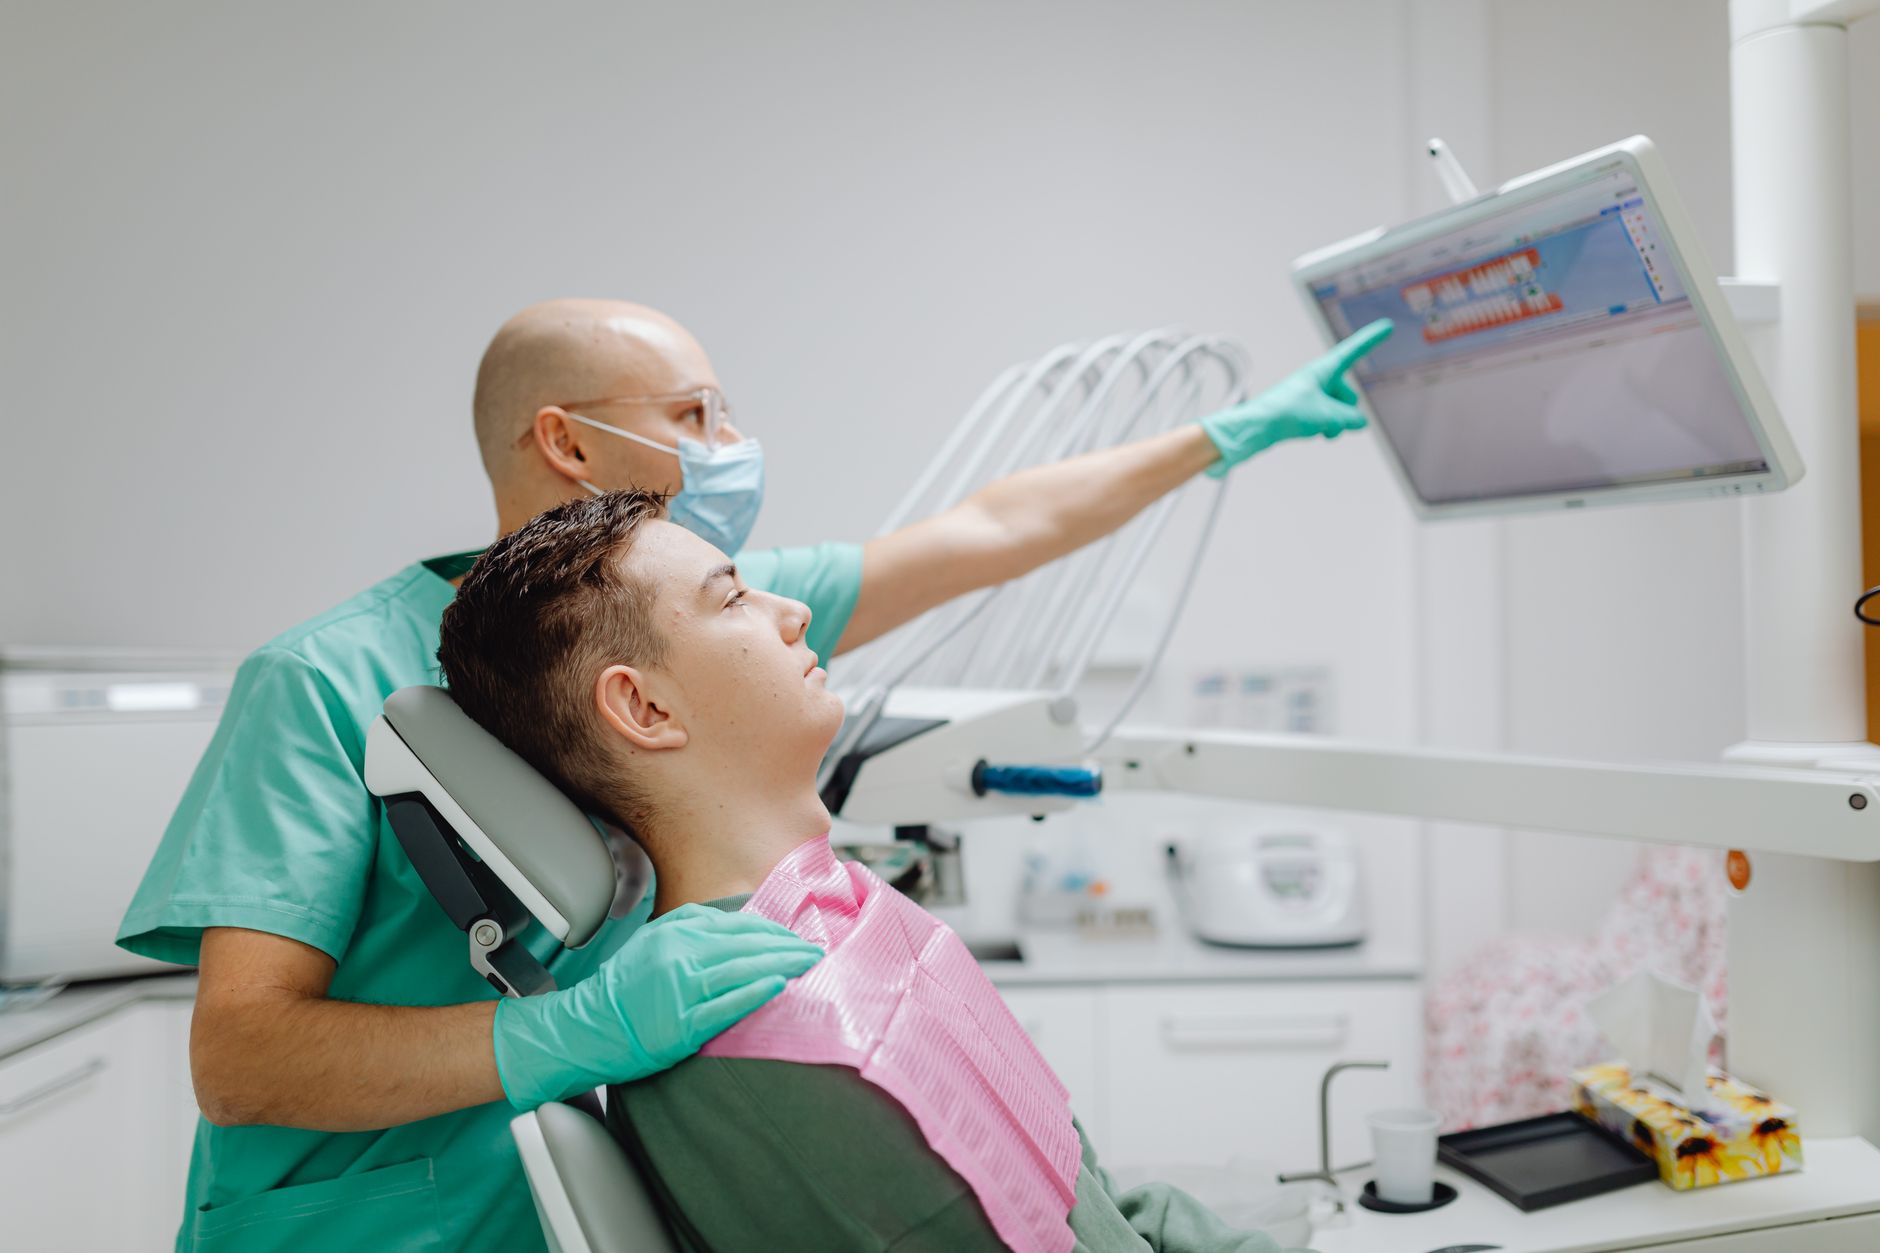
The most common operatory TV mistake is mounting the screen wherever the ceiling is convenient. Instead, sit in the chair, recline it to the position you use most, and look where your eyes naturally rest. For most people that is up and slightly forward, toward the knees and feet, not straight overhead. A screen directly above the face sits right where the operatory light, the clinician's head and the assistant's hands will be during treatment.
Think of the chair in terms of who works where. The dentist and assistant occupy the space around the head. The patient's line of sight runs the other way, down the length of the chair. A screen placed over the chest or knee area, tilted back toward the headrest, stays visible during most procedures and stays out of everyone's way.
Comparing placement options
| Placement | Works well for | Trade-offs |
|---|---|---|
| Ceiling mount over the chest or knees, angled toward the headrest | Fully reclined patients, longer procedures | Needs solid structure above the ceiling and careful clearance planning around the light |
| Ceiling mount directly over the face | Rarely a good fit | Blocked by the light and clinician; can feel looming at close range |
| Wall mount at the foot of the chair, tilted down | Semi-reclined patients, hygiene visits, consults | Harder to see when fully reclined; may face a window or door |
| Articulating arm attached to ceiling or wall | Rooms where chair position or patient height varies | More moving parts to wipe and adjust; staff must reposition it |
Size and glare
Viewing distance in an operatory is short, so the screen does not need to be large. An oversized panel a short distance above a reclined patient feels heavy and can be uncomfortable to look at. Pick a size that lets a patient read captions comfortably from the headrest; our guide to matching screen size to seating distance explains the reasoning, which applies here at a much closer range.
Glare matters more than people expect. Overhead fixtures and the operatory light can wash out a glossy screen at an upward angle. Check reflections from the reclined position with the room lights on, and plan to turn brightness down; a screen set for a bright showroom is tiring to stare at from a few feet away.
Mounting a TV above the dental chair
A dental operatory TV mount carries a responsibility most commercial mounts do not: it hangs over a person who cannot easily move out of the way. Plan it accordingly.
Structure first. A suspended tile ceiling cannot hold a TV on its own. The mount needs to attach to structure above the grid, whether that is framing, a structural deck or a support built for the purpose. Use a mount rated well above the weight of the screen, and ask your installer about a secondary safety tether.
Clearance second. Map the full swing of everything that moves overhead: the operatory light arm, the delivery system, any ceiling-mounted monitor and the intraoral imaging arm. The TV should be outside all of those arcs in every position, not just the one you tested. Leave room for staff to raise and lower the chair without the patient's knees or feet coming close to the screen.
Cables third. Run power and the signal cable above the ceiling and drop them straight into the back of the mount so nothing dangles. Exposed cable runs collect dust and are one more surface to clean. Your electrician and contractor will know what the ceiling space in your building requires for wiring.
Timing. If you are building out or remodeling, decide on TVs before the ceiling closes. Adding blocking and pulling cable is simple during construction and disruptive afterward. Our commercial TV mounting and placement guide covers the general sequence.
Controls that fit your infection-control routine
A standard remote is a lot of small buttons and seams, and in a treatment room it gets handled by gloved staff and curious patients. Decide up front who touches the controls and how they are cleaned, and get your infection-control lead to sign off on the plan. Confirm any cleaning products against the manufacturer's guidance for the remote and the screen.
Common approaches, roughly from least to most hands-on:
- Preset and leave it. Screens power on with the day and sit on an agreed channel. Nobody touches a remote during treatment. Simple and clean, though patients get no choice.
- Staff-only remote at the assistant's station. One person changes the channel before seating the patient, then sets the remote down in a defined spot that is part of room turnover.
- Remote in a disposable barrier sleeve. Lets patients hold it if you want them to, with the sleeve changed between patients like other barriers.
- Sealed or wipe-friendly remote. Fewer seams and a smooth surface make cleaning easier, but it still has to be on the turnover checklist.
Giving the patient the remote sounds hospitable, but it usually means a few minutes of channel surfing during the time you are trying to get started, plus one more item to clean. Many practices find that offering two or three channels and letting the assistant switch is the better experience.
Sound in a treatment room: headphones, speakers or captions
Audio is where operatory TV gets complicated. Handpieces and suction compete with any speaker, clinicians need to talk to the patient, and in an open-bay layout the room next door hears whatever you play.
| Option | Strengths | Trade-offs |
|---|---|---|
| Captions only | Silent, no shared equipment, works in open bays | Patient has to read; less immersive for long appointments |
| Small room speaker at low volume | Easy for patients, nothing to wear | Masked by handpieces; bleeds into adjacent rooms and hallways |
| Wireless headphones supplied by the practice | Blocks some procedure noise, private audio | Must be cleaned between patients; ear cushions may need replaceable covers; can block your instructions |
| Patient's own wireless earbuds | Familiar and personal, nothing for you to clean | Pairing takes time; not every patient brings them; mixed compatibility |
A sensible default for most practices is captions on in every operatory, with headphones available for patients who want them during longer or more anxious appointments. If you offer headphones, agree on a simple signal (a light tap on the shoulder, for instance) so the clinician can get the patient's attention, and keep volume low enough that the patient can still hear spoken instructions.
If your practice already runs music in the hallway or sterilization area, keep the operatory TV audio separate from it rather than piping everything through the same speakers; the ideas in our piece on keeping background music and TV audio from clashing apply in a clinical setting too.
Programming and receivers for every operatory
What plays on a dental treatment room TV should be calm and easy to dip in and out of: nature and travel, light comedy, home and cooking shows, or a game with captions. Avoid channels where breaking news or graphic content can appear without warning; a reclined, slightly anxious patient is the wrong audience for it.
A few practical points:
- Keep receivers out of the operatory. Locate them in a closet, a staff area or a small equipment rack, and run signal to each screen. That keeps the treatment room uncluttered and lets staff work on equipment without walking through a procedure.
- Decide on choice versus simplicity. One receiver per room lets each patient watch something different. Fewer receivers sharing a feed are simpler to manage but put every room on the same channel.
- Check terms and use a commercial viewing type. Consumer and personal accounts are generally set up for home viewing, and their terms may not extend to a business setting, even a private treatment room. Terms vary by provider and service, so review yours and confirm with a specialist rather than assuming. Our guide to commercial TV packages by viewing type explains the categories, and a specialist can confirm which fits your practice.
- Plan multi-site practices once. If you run several offices, a single standard for placement, controls and channels makes training and support easier. Sports Direct has technicians and engineers in all 50 states, which helps when your offices are spread across regions.
As an authorized commercial dealer, Sports Direct handles commercial programming, equipment, installation and support for practices that want operatories and the waiting room on one plan. See how that works for medical office waiting rooms as well.
Common mistakes and questions to ask a provider
Mistakes we see in operatories
- Mounting directly over the face, where the light and clinician block the view for most of the appointment.
- Choosing a screen that is too big for a short viewing distance.
- Forgetting the imaging arm or light swing when checking clearance.
- Leaving controls off the turnover checklist, so remotes become the least-cleaned item in the room.
- Turning speakers up to beat the handpiece, which only makes the hallway louder.
- Assuming a home or personal account is fine without checking whether its terms cover a business.
- Deciding after the ceiling is closed, which turns a simple wiring job into a disruptive one.
Questions to ask before you sign
- Will you walk each operatory with us and test sightlines from the reclined position?
- Where will the receivers live, and how is signal run to each room?
- Which viewing type applies to our treatment rooms and waiting room?
- Can each room have its own channel, or will they share a feed?
- How do you schedule installation around patient hours so no rooms go out of service unexpectedly?
- Who do we call when a screen in a room shows an error, and how is support handled across our locations?
- If we add operatories later, what will that involve?
If you want a structured way to gather this before the conversation, the business TV audit checklist works for a dental office as well as any other site. When you are ready, a programming specialist can review your floor plan and talk through options with you; reach out here or call New Sales at 888-688-1699.